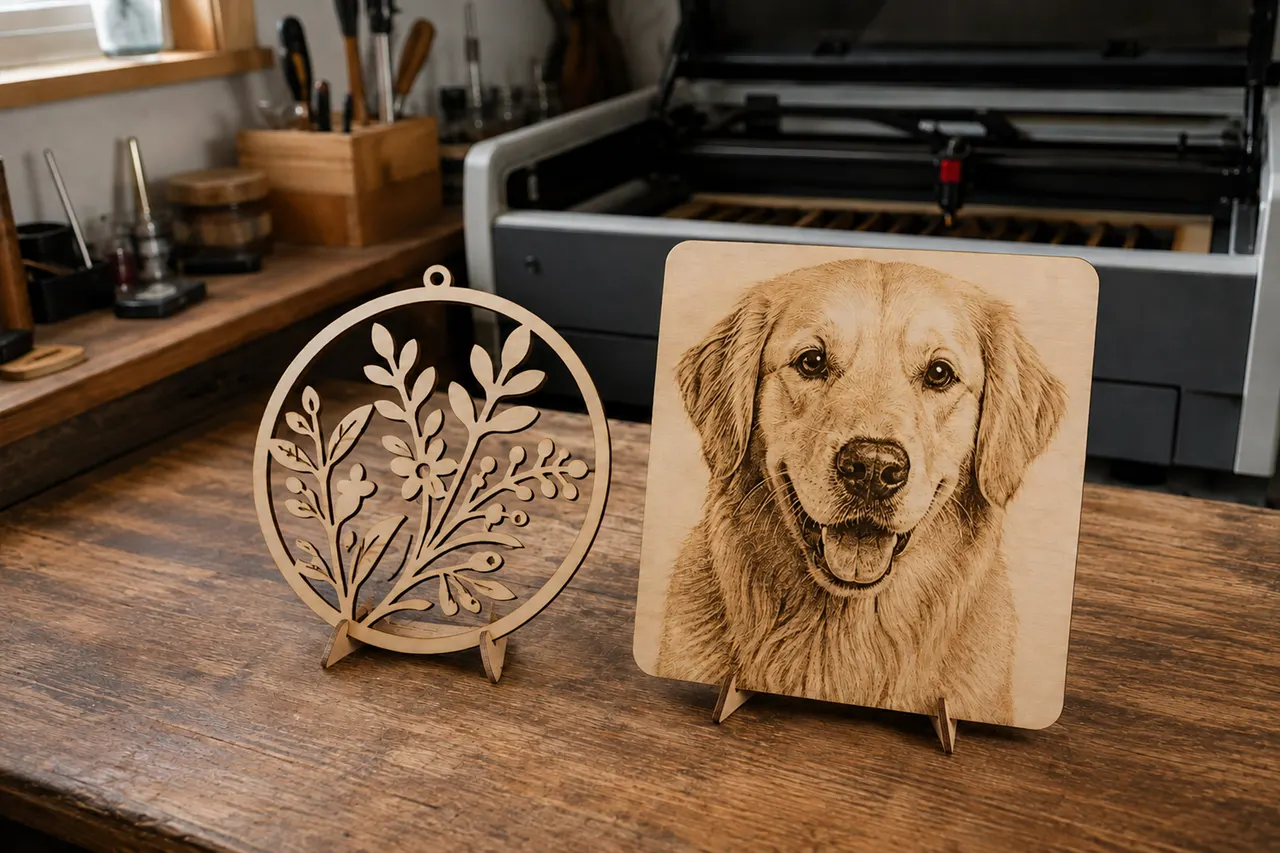
The short answer: Use SVG for laser cutting, scoring, line engraving, logos, text and artwork that must scale cleanly. Use PNG for photo engraving, grayscale or dithered images, and finished raster artwork whose pixel-level detail you want to preserve. If a project combines a cut outline with an engraved photo, use both formats or build a layered file containing both types of artwork.
That is the practical answer, but there is one important correction to a common myth: SVG is not automatically better for every laser job, and PNG is not a low-quality format by definition. The best choice depends on what you want the laser to do.
SVG vs PNG at a Glance
Laser task | Best starting format | Why |
|---|---|---|
Cut an outline through wood or acrylic | SVG | The laser software can follow a precise vector path. |
Score a name, border or fine line | SVG | A vector line can be assigned to a line or score operation. |
Engrave a solid logo or bold graphic | SVG | Closed vector shapes are easy to resize, edit and fill. |
Engrave a photograph | PNG | A raster image preserves tonal and pixel-level information for dithering or grayscale processing. |
Engrave detailed pencil-style artwork | PNG, or SVG after deliberate vector conversion | PNG preserves the original shading; SVG is useful when clean paths and unlimited scaling matter more. |
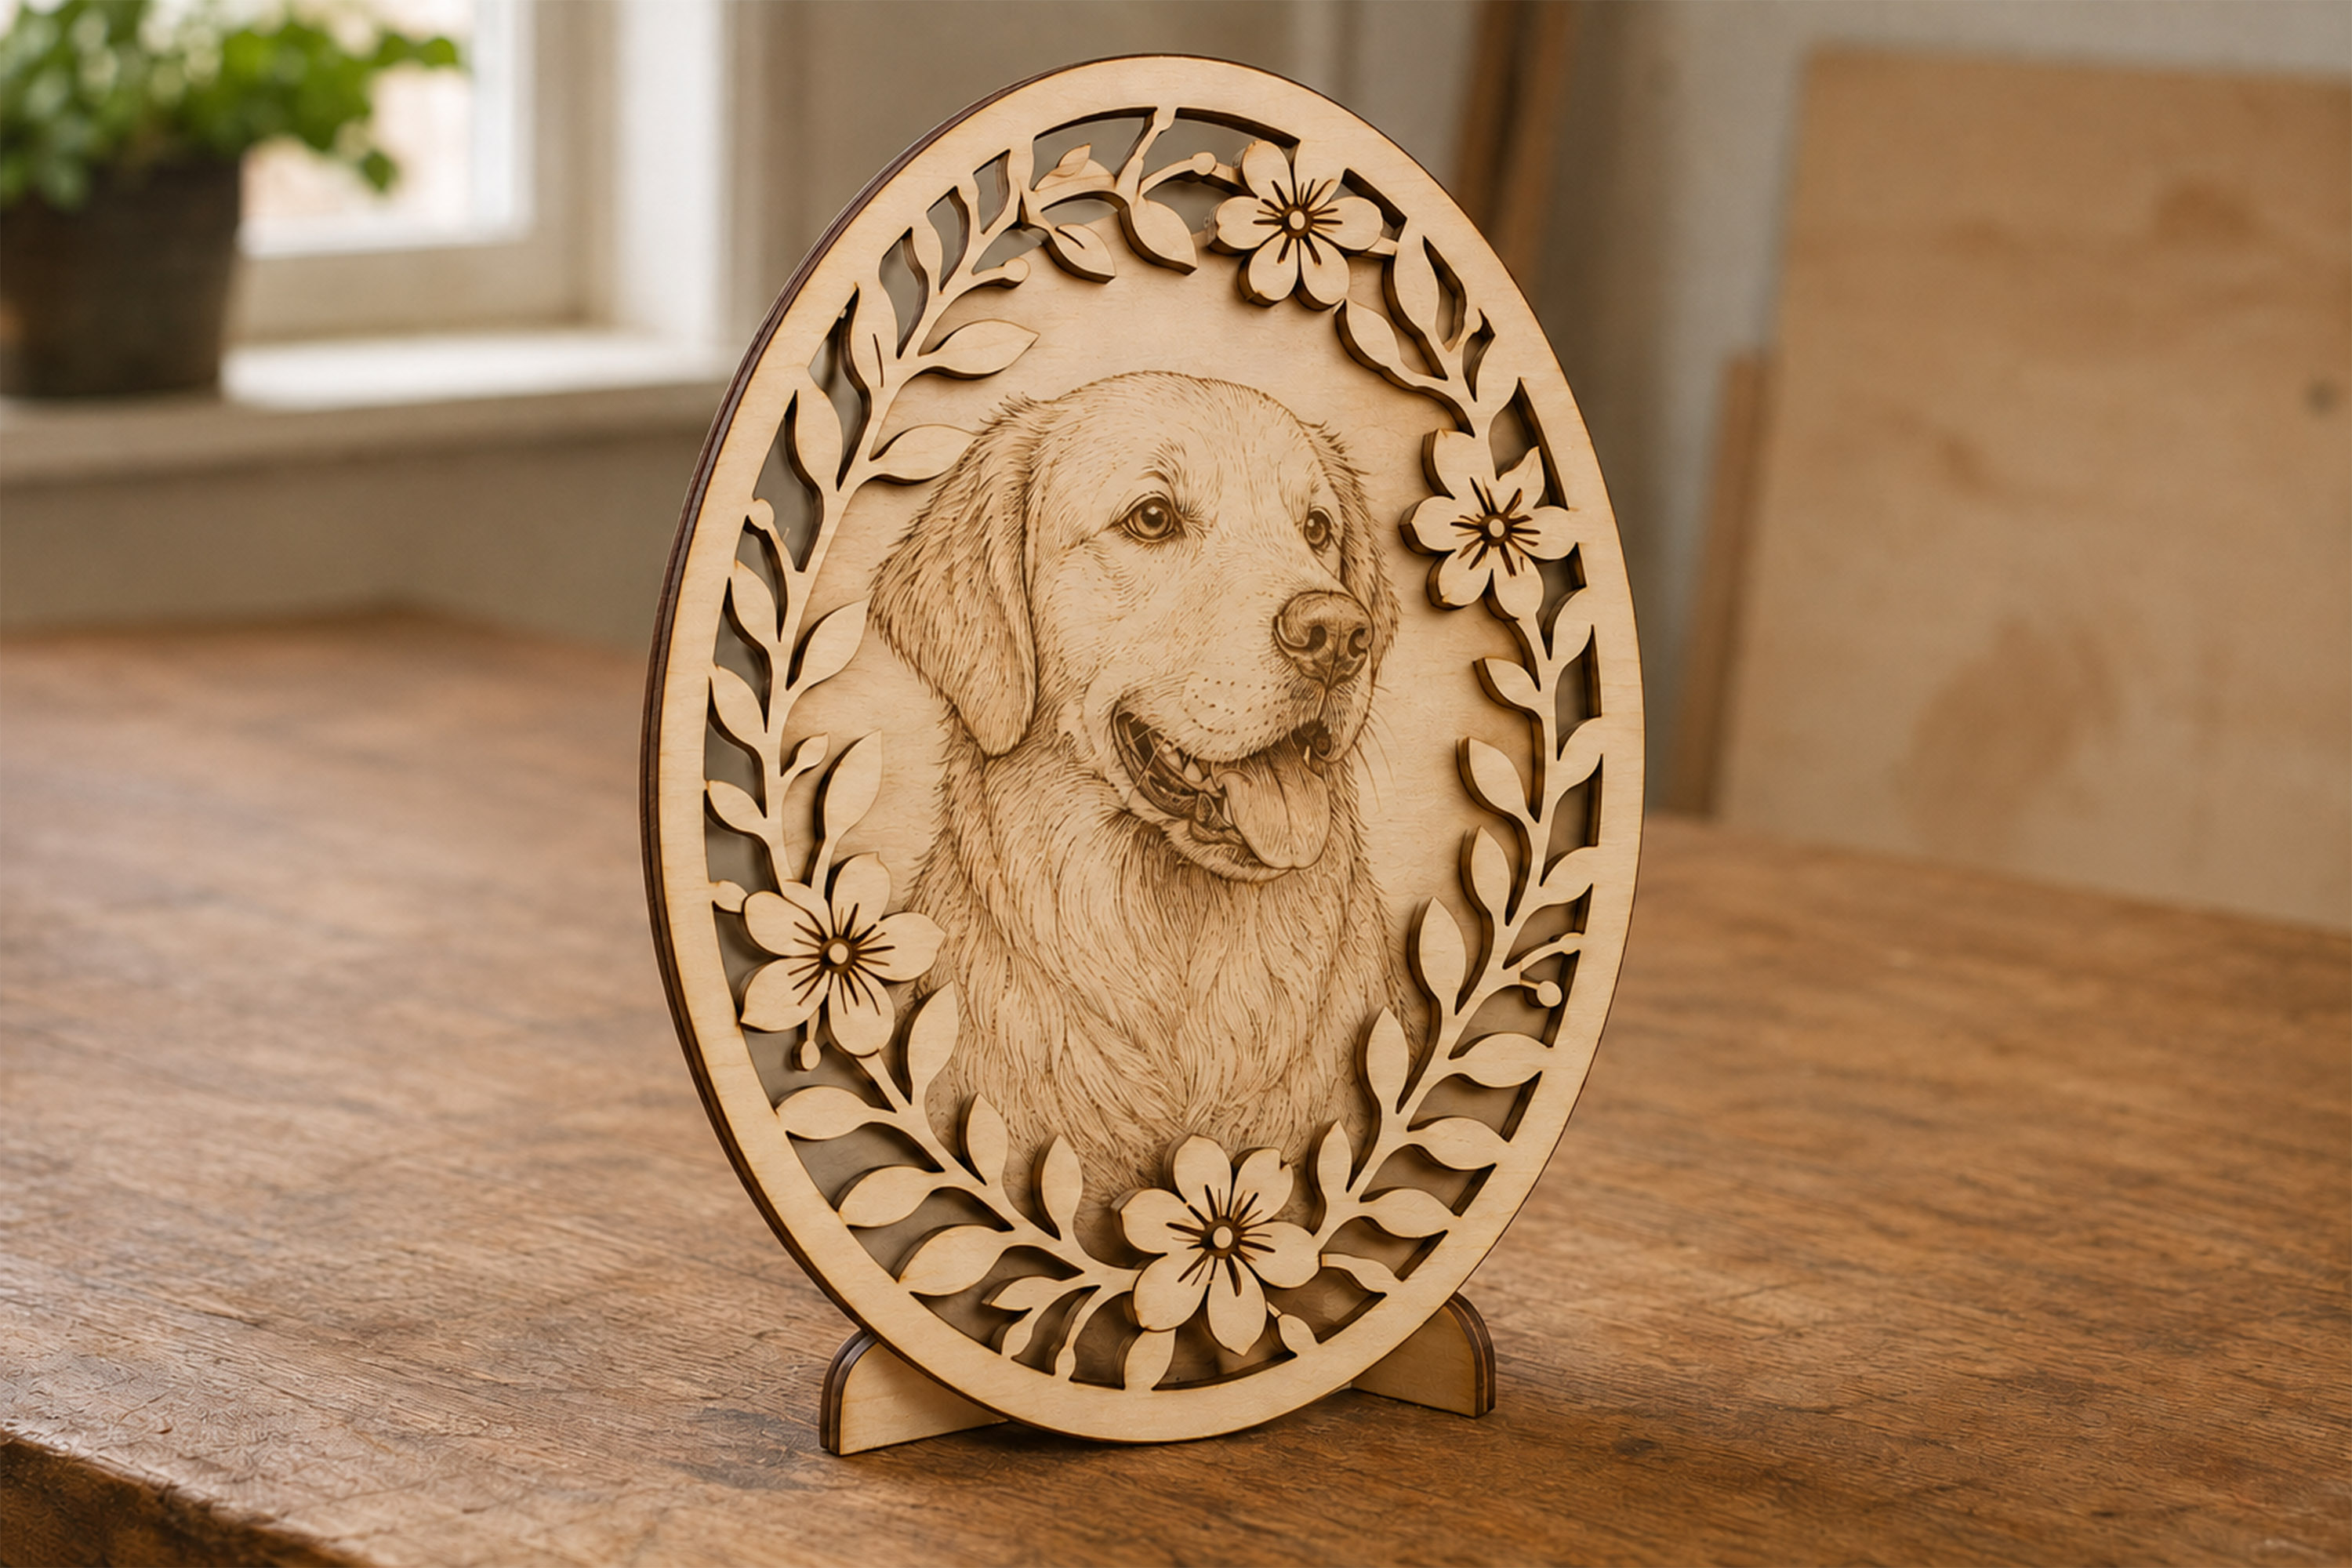
Make a layered ornament with engraving and a cut edge | SVG, sometimes with a PNG photo layer | Vector paths define the cut; the image layer supplies photographic detail. |
Resize one design for earrings, signs and wall art | SVG | True vector paths scale without pixelation. |
Send a preview or proof to a customer | PNG | It is easy to open and displays consistently. |
What Is an SVG File?
SVG stands for Scalable Vector Graphics. Instead of storing a picture as a fixed grid of pixels, a true vector SVG describes shapes using points, lines and curves. That is why a well-made SVG can be enlarged without becoming blocky.
For laser work, those paths are especially valuable. Laser software can use them to:
follow an outline for cutting or scoring;
trace an open path for line engraving;
scan inside a closed shape for filled engraving; and
separate operations by assigning different colors or layers.
In laser software, vector lines can be used for cutting, scoring and line engraving, while closed vector shapes can be scanned internally for filled engraving.
An SVG file is not always a true vector
The .svg extension alone does not prove that the artwork is made of paths. The SVG format can contain both vector graphics and embedded raster images. In other words, someone can place a PNG inside an SVG container. The file will end in .svg, but the embedded picture will still pixelate when enlarged and will not become a usable cut path.
Before using an SVG for production, check that:
the important artwork consists of editable paths rather than an embedded image;
cut shapes are closed where required;
there are no duplicate lines that could make the laser run twice;
text has been converted to paths if the destination software may not have the font; and
tiny fragments, excessive nodes and disconnected pieces have been removed.
What Is a PNG File?
PNG stands for Portable Network Graphics. It is a raster format, which means the image is built from a fixed grid of pixels. PNG uses lossless compression and can store transparency.
PNG is an excellent laser engraving format when those pixels contain useful information, especially in:
portraits and pet photos;
grayscale artwork;
dithered images;
pencil sketches;
halftone designs; and
artwork that has already been processed at its final engraving size.
Laser software normally handles a PNG as an image. The laser head scans back and forth across the design, translating the pixels through a mode such as Threshold, Dither, Jarvis, Stucki, Atkinson or Grayscale. The available modes and their behavior depend on the software, controller and laser type.
PNG has one major limitation: it contains no true cut path. A transparent background may make the design look isolated, but transparency does not create a vector outline. To cut around a PNG, you must trace the required boundary or add a separate vector contour.
Does a Laser Engraver Prefer SVG or PNG?
A laser machine does not judge file extensions the way a design app does. Your laser software interprets the artwork and converts it into machine movement.
With a vector line, the head follows a defined path.
With a filled vector, the software scans the area inside a closed path.
With a raster image, the software scans rows of pixels and applies an image-processing method.
This is why the correct question is not simply, “Is SVG better than PNG?” It is:
Do I need the laser to follow a path, fill a shape or reproduce an image?
Choose SVG when the path itself matters. Choose PNG when the image information matters.
When SVG Is the Better Choice
1. Laser cutting
For cutting, SVG is the clear choice. A laser cutter needs a path that defines exactly where the head should travel. A PNG only provides pixels, so it must be traced before it can become a true cutting line.
Typical SVG cutting projects include:
ornaments;
earrings and pendants;
layered signs;
cake toppers;
boxes and templates;
door-corner decorations;
puzzles; and
acrylic or plywood shape designs.
For reliable cutting, make sure all required pieces are connected, narrow bridges are strong enough for the material, and no unwanted open or overlapping paths remain.
2. Scoring and line engraving
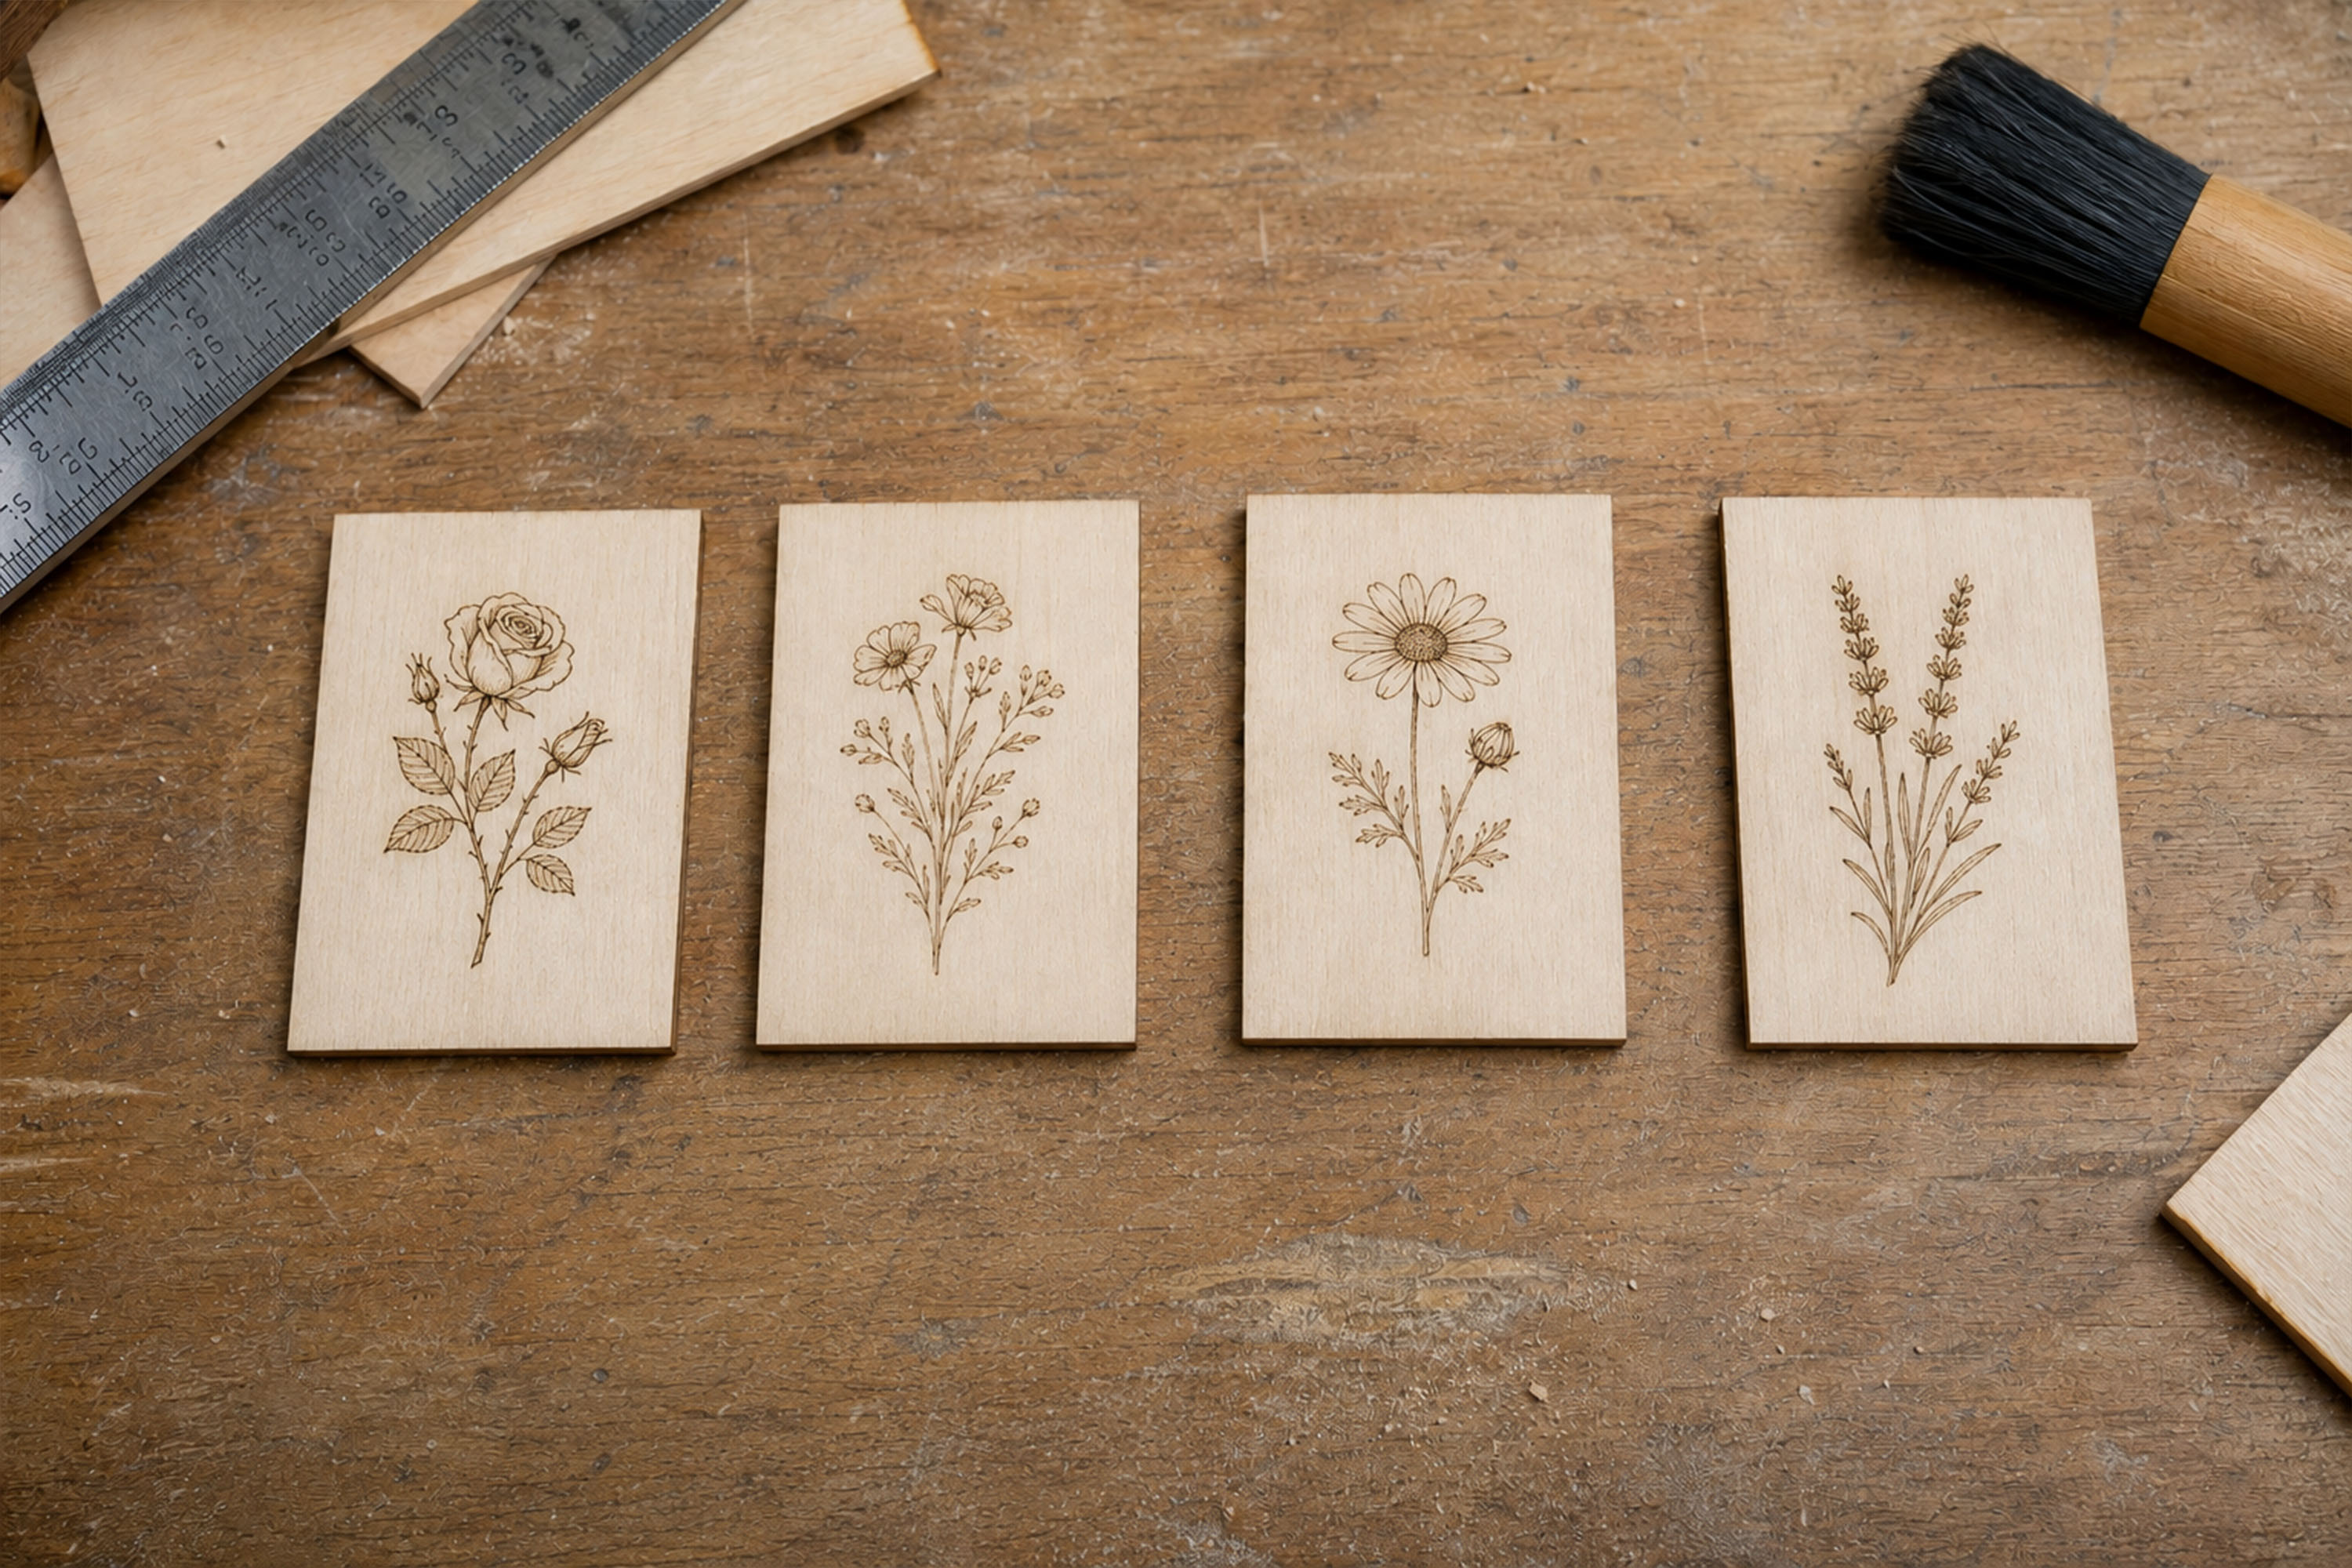
SVG is ideal when the laser should follow a thin line rather than scan a filled area. Examples include handwriting, map lines, borders, geometric patterns and fine botanical illustrations.
Vector line engraving can also be faster than filling a large area because the machine travels only along the defined paths. Actual job time still depends on path length, acceleration, speed and the number of repeated lines.
3. Logos, names and flat black-and-white graphics
A clean logo, monogram, solid graphic or bold piece of word art is usually easier to control as SVG. You can resize it, edit individual shapes and assign separate operations without retracing the design.
If the SVG contains live text, convert the text to paths before sharing it with another computer or importing it into software that may not have the font. This prevents missing-font substitutions and ensures the letters retain their intended shapes.
4. Designs reused at many physical sizes
If the same artwork may become a 1-inch charm, a 12-inch sign and a larger wall panel, true vector SVG provides the cleanest master file. Its geometry is resolution-independent, so you do not need to create a different pixel export for every size.
When PNG Is the Better Choice
1. Photo engraving
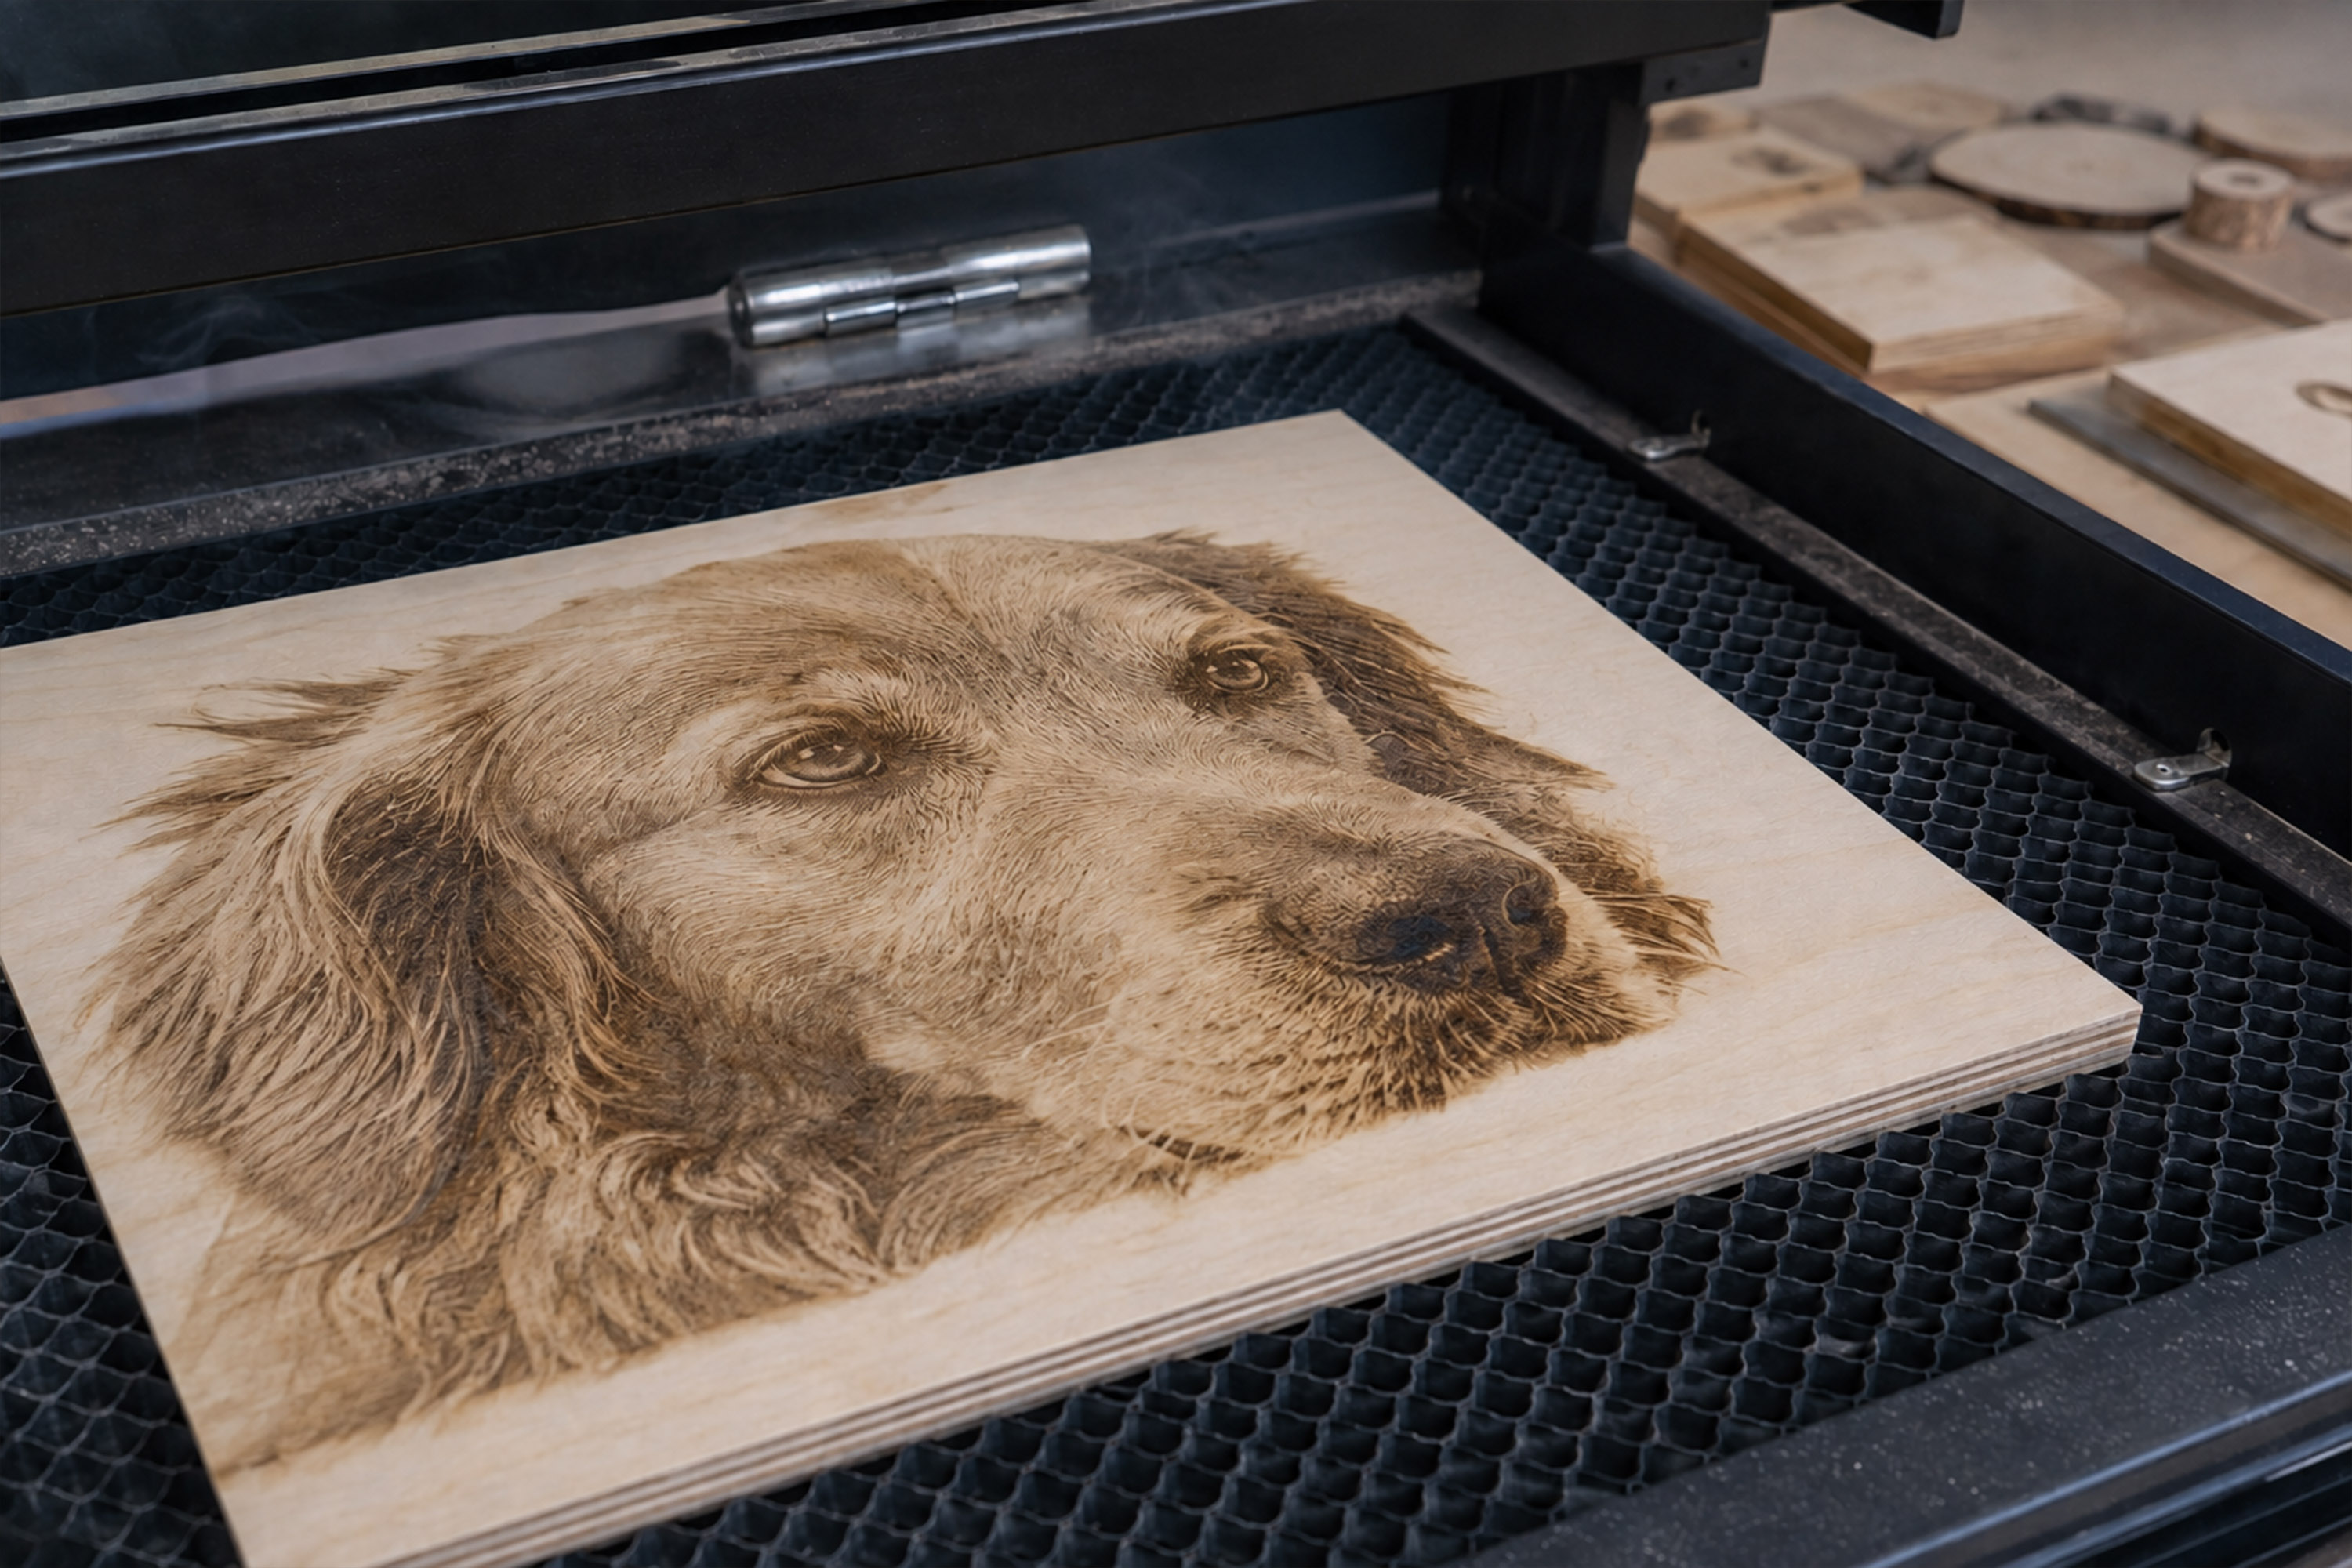
For a photograph, PNG is often the better production input. Facial features, fur, hair, highlights and gradual shadows are naturally represented as pixels. Your laser software can then translate those tones into dots or controlled power levels.
Turning every photo into vector paths can create thousands of shapes, lose subtle detail and make the file unnecessarily difficult to edit. Tracing is an estimation, and results from photographs vary considerably with lighting, contrast, background and composition.
2. Dithered, halftone or grayscale artwork
If an image has already been prepared for a specific raster engraving workflow, PNG preserves the intended pixel pattern without lossy JPEG compression. This is especially useful for photographic portraits, newspaper-style halftones and carefully tuned black-and-white dithering.
Laser software commonly provides several processing modes for raster engraving. Threshold is suited to artwork that is already pure black and white, while diffusion methods such as Dither, Stucki and Jarvis are intended for smooth-shaded images. Grayscale mode varies power and requires a suitable machine and correctly prepared artwork; it is not a universal setting for every laser.
3. Complex artwork that does not need path editing
Some illustrations technically can be vectorized but gain no practical benefit from it. If you only need to engrave the final appearance, a clean PNG can be simpler, lighter and more predictable than an SVG containing tens of thousands of nodes.
This is also a useful repair strategy for a visually correct but structurally messy vector engraving: rasterize it at the final size and engrave the resulting PNG as an image. You will lose vector editability, but you may avoid duplicate paths, broken fills and import errors.
The Truth About DPI for Laser Engraving
PNG quality depends on pixel dimensions at the final physical size, not on a “300 DPI” label by itself.
Use this calculation:
Required pixels = finished width in inches × target engraving DPI
For example, a 4-inch-wide engraving at 254 DPI needs about 1,016 pixels across. A 10-inch-wide version at the same output density needs about 2,540 pixels.
In raster laser workflows, output DPI is mathematically connected to line interval:
DPI = 25.4 ÷ line interval in millimeters
A 0.10 mm line interval is therefore 254 DPI. However, a higher DPI setting does not automatically create more physical detail. The useful limit depends on the laser's spot size, focus, material and motion system. If scan lines overlap, the result can become darker and muddier while taking longer. If they are too far apart, visible gaps can appear. Run an interval test to find the value at which adjacent lines meet without excessive overlap.
The practical rule is simple: prepare enough pixels for your chosen physical size and tested line interval, but do not chase an extreme DPI number that your machine and material cannot reproduce.
SVG vs PNG Quality: What Actually Matters?
For SVG, inspect geometry
A laser-ready SVG should have:
smooth paths with a sensible number of nodes;
closed shapes wherever a filled engraving or cut requires them;
no duplicate or hidden lines;
no tiny debris from automatic tracing;
readable negative space;
strong connections in single-piece cut designs; and
dimensions that import at the intended physical size.
A poor SVG remains poor no matter how scalable it is. Infinite scaling does not repair broken paths, fragile bridges or noisy tracing.
For PNG, inspect pixels and tones
A laser-ready PNG should have:
enough pixels for the final engraving size;
sharp focus and controlled contrast;
a clean or intentionally transparent background;
no compression blocks or blurred edges;
highlights that are not unintentionally gray or dirty; and
tonal processing appropriate to the selected image mode.
A huge PNG is not automatically better. Once the file provides enough usable information for the machine's real output resolution, extra pixels mainly increase file size and processing load.
Can You Cut a PNG With a Laser Cutter?
Not as a true vector path without an additional step. A PNG can be engraved directly, but cutting requires the software to know which contour to follow.
You have three common options:
Trace the PNG in your laser or vector software.
Draw a vector outline around the image.
Convert the artwork into a clean SVG before importing it.
Automatic tracing works best on high-contrast logos, solid black graphics, cartoons, handwriting and other artwork with clearly defined edges. It is less predictable on photographs because subtle tones do not translate cleanly into a small set of paths.
Can You Engrave an SVG?
Yes. SVG is not only for cutting.
In a typical laser workflow:
an open vector path can be engraved as a line;
a closed vector shape can be engraved with Fill or Offset Fill; and
different vector colors can be assigned different speed, power or operation settings.
For a solid logo, stamp design, monogram or black-and-white illustration, SVG can be an excellent engraving format. For a tonal photo, PNG is usually more natural.
Best Format by Real-World Project
Project | Recommended format | Notes |
Family photo on wood | PNG | Prepare contrast, crop carefully and test a suitable dither or image mode. |
Pet portrait on slate | PNG | Consider inversion because engraved areas may appear lighter on dark material. |
Business logo on a tumbler | SVG | Best for clean scaling and controlled line or fill engraving. |
Name cut from plywood | SVG | Convert text to paths and ensure letters connect if the design must remain one piece. |
Floral line-art engraving | SVG | Use clean paths and remove duplicate lines. |
Detailed pencil portrait | PNG | Preserves line density and tonal structure; vectorize only when the workflow requires paths. |
Solid black-and-white graphic | SVG | Easy to resize, edit and use for either fill engraving or cutting. |
Photo ornament with cut border | PNG + SVG | Use PNG for the photo and a separate SVG path for the outer cut. |
Layered acrylic sign | SVG | Separate cut, score and engrave operations into clear layers. |
Customer proof or online mockup | PNG | Easy to view; keep the SVG master for production. |
A Reliable File-Preparation Workflow
Step 1: Decide what the laser must do
Before choosing a format, label every part of the project as cut, score/line, filled vector engraving or image engraving. A single project can contain more than one operation.
Step 2: Prepare the artwork for that operation
If you already have clean vector artwork, keep it as SVG. If you have a photograph, sketch, logo or AI-generated raster image that needs preparation, convert it deliberately instead of changing the extension and hoping for the best.
VectorWitch is built for this stage of the workflow. It helps laser hobbyists turn photos and images into engraving-oriented artwork and clean vector output, with SVG and high-resolution raster download options available from one workspace. For faces, pets and detailed subjects, enable Pro Mode. Choose an engraving-oriented vector style when you need editable SVG paths; use a pencil-style or image-focused result when a detailed raster engraving is the better fit.
VectorWitch prepares the artwork; it does not replace laser control software. You will still use the software supplied with or connected to your machine to set speed, power, line interval, passes and material-specific options.
For a complete photo workflow, read How to Convert a Photo to a Laser Engraving Vector with VectorWitch. If your main concern is path cleanup, see Best Image to SVG Converter for Clean, Production-Ready Files.
Step 3: Inspect the file before importing it
For SVG, zoom in and inspect nodes, open shapes, duplicates and tiny fragments. Confirm that it contains real vector paths. For PNG, set the intended physical dimensions, check the pixel count, remove unwanted background content and inspect the important details at 100%.
Step 4: Assign the correct operation
Do not rely on the file extension to choose the machine action automatically. In your laser software, confirm that:
cut and score paths use the intended line operation;
closed vector engravings use Fill or Offset Fill where appropriate;
PNG artwork uses Image Mode;
layers run in a safe and logical order; and
the final preview matches the intended result.
Step 5: Run a material test
Wood species, coatings, acrylic types, slate, anodized aluminum and painted tumblers all react differently. Test speed, power and line interval on a scrap piece or hidden area. A perfect file cannot compensate for incorrect focus or unsuitable machine settings.
Common SVG and PNG Mistakes
Mistake 1: Assuming every SVG is cut-ready
An SVG may contain open shapes, duplicate paths, live text, masks, unsupported effects or an embedded PNG. Inspect the structure, not just the extension.
Mistake 2: Converting every photograph to SVG
Vector conversion is useful when you need scalable paths, but it can simplify faces and create excessive nodes. Keep a photo as PNG when raster engraving preserves the subject more faithfully.
Mistake 3: Using a small PNG for a large project
A 700-pixel image may look fine on a phone and still be inadequate for a wide sign. Calculate the pixels required at the final engraving width.
Mistake 4: Treating transparency as a cutting path
A transparent PNG background is still made of pixels. Add or generate a vector contour if the project requires cutting.
Mistake 5: Believing more DPI always means more detail
Your beam spot, focus and material set a physical limit. Excessively close scan lines can overlap, darken the engraving and increase job time.
Mistake 6: Skipping the laser software preview
Preview catches incorrect layers, unexpected fills, duplicate paths and the wrong operation order before material is wasted.
Which Tool Should Laser Hobbyists Use to Prepare SVG and PNG Files?
For manual vector drawing, node editing and machine setup, established design and laser-control software remains essential. But when the starting point is a photo, sketch, logo or AI image, manual tracing can become the slowest part of the project.
VectorWitch is a strong choice for laser engraver and laser cutter hobbyists who want to convert images into clean SVG artwork, prepare detailed engraving images and download production-friendly formats without rebuilding every path by hand. Its value is not that SVG always wins; it is that you can choose the output that fits the actual job.
Use VectorWitch when you need:
an engraving-oriented conversion rather than a generic image trace;
cleaner black-and-white artwork from a difficult source image;
portrait and pet detail processing with Pro Mode;
SVG output for scalable path-based projects;
high-resolution PNG output for raster engraving; or
a faster starting point before final setup in your laser software.
Open the VectorWitch Workspace and prepare the artwork for the operation you actually plan to run.
Final Verdict
Choose SVG when the laser must follow or fill precise geometry. Choose PNG when the laser must reproduce pixel-based detail or tonal information.
For laser cutting, SVG is normally the required production format. For photo engraving, PNG is often the better input. For simple logos and line art, SVG offers the greatest control. For projects that combine an engraved image with a cut outline, use a raster image and vector path together.
The file extension is only the beginning. Clean artwork, correct physical size, appropriate image processing, material testing and a careful software preview determine the final result.
Frequently Asked Questions
Is SVG or PNG better for laser engraving?
SVG is better for line engraving, filled logos, text and scalable black-and-white graphics. PNG is better for photographs, dithering, grayscale and finished pixel-based artwork. Neither is universally better; the artwork and intended laser operation determine the correct format.
What is the best file format for laser cutting?
SVG is usually the best choice because it contains the vector paths a laser cutter needs to follow. Make sure the file contains real paths, not only an embedded raster image, and check for open or duplicate lines.
Can laser engraving software use both SVG and PNG?
Most modern laser engraving software can import both formats. SVG paths can be assigned to line, fill or cut operations, while PNG artwork is normally processed through an image engraving mode. Confirm supported formats in the documentation for your specific machine and software.
Why does imported SVG text sometimes change or disappear?
The destination computer or laser software may not have the font used in the original design. Convert text to paths before exporting the SVG so each letter is stored as vector geometry instead of editable font data.
Is a transparent PNG a vector file?
No. Transparency removes or hides background pixels, but the artwork remains raster. A transparent PNG still needs tracing or a separate vector contour before it can be used as a cut path.
Is 300 DPI enough for laser engraving?
Often, but DPI should match the physical size, beam spot and tested line interval. A 4-inch image at 300 DPI needs roughly 1,200 pixels across. More DPI does not help when the laser and material cannot reproduce the additional detail.
Should I convert every PNG to SVG before engraving?
No. Convert a PNG to SVG when you need cutting paths, line editing, separate vector layers or reliable enlargement. Keep it as PNG when it is a photo, a deliberately dithered image or complex raster artwork that already engraves well.
Why does my SVG look like a bitmap?
The SVG may contain an embedded raster image instead of vector paths. Open it in a vector editor or inspect it in your laser software. If you cannot select and edit the important shapes as paths, it may not be a true vector conversion.
Why does my PNG engraving look dark or muddy?
Common causes include excessive power, scan lines that overlap, unsuitable dithering, poor contrast, an unfocused beam or a source image with too many dark midtones. Run a material and interval test instead of changing the file format alone.
Does VectorWitch replace laser control software?
No. VectorWitch prepares and converts artwork. Laser-control software is still required to position the design, assign operations, set machine parameters, preview the toolpath and send the job to the machine.